While AirPods are some of the most popular and enduring headphones on the market today, they’re not exempt from technical issues that can leave a lot of users feeling discouraged and regretting their (rather expensive) purchase.
We’ve covered a lot of issues that can arise with Apple’s AirPods, including volume problems, pausing and playback concerns, issues with phone calls, and a static sound that some users experience.
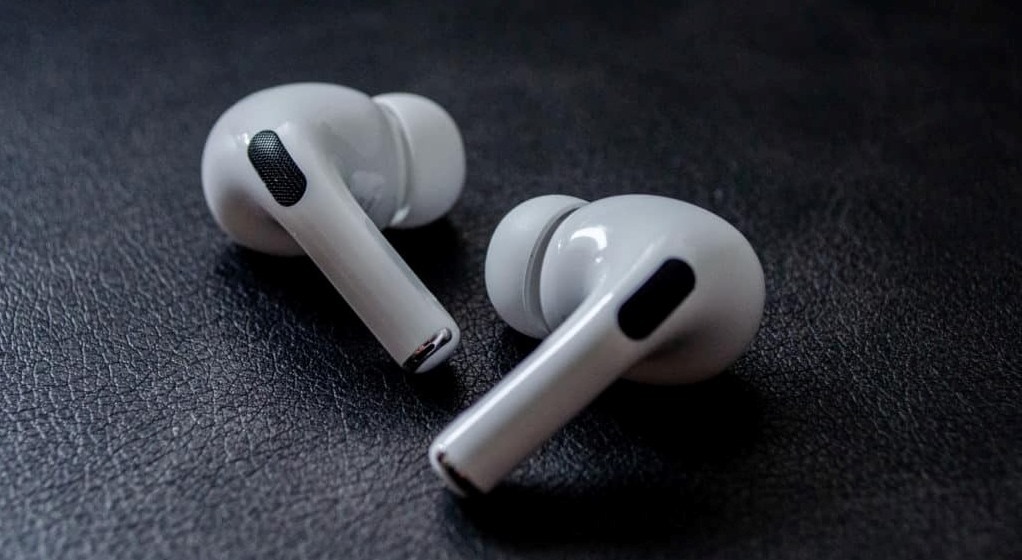
Now let’s take a look at the common issue of AirPods sounding muffled, and most importantly, discuss how to fix it. The fixes for this issue should work for AirPods and AirPods Pro and are relevant if both or just one of your AirPods sounds muffled.
Table of Contents
Why Your AirPods Might Sound Muffled
There are a couple of reasons why your AirPods might sound muffled, and thankfully the most likely one isn’t too difficult to fix.
Believe it or not, this isn’t usually caused by a technical issue, but rather by a build-up of dirt and debris in the actual headphones themselves.
However, things like low battery, an unstable Bluetooth connection, and other setting configurations can also affect the sound in ways that might sound like muffling.
So, let’s take a more in-depth look at these issues, and most importantly, explain how to fix them.
Dirty AirPods

AirPods can easily get clogged with dirt and debris, and it doesn’t take much to cover the small mesh grilles that guard the speakers. Earwax is sticky, so dust and lint won’t just brush off either.
Cleaning all of this off your AirPods will make a huge difference to how they sound, but before you go rushing to jam a toothpick in there, be careful. AirPods are tough, but they’re not indestructible.
How to Fix
Follow these recommended steps to clean your AirPods thoroughly, and without causing any damage.
- Use a cotton swab to remove any larger chunks of earwax and dirt from the AirPods. Focus on the mesh grilles, as this is where a buildup will affect the sound the most.
- Lightly dampen a cotton swab with isopropyl alcohol and gently dab the mesh grilles to remove any residue or remaining dirt.
- For AirPods Pro, remove the silicone tip and wipe thoroughly with isopropyl alcohol to remove wax.
- Carefully use a toothpick to remove any stubborn grime from edges, corners, and grilles.
- Ensure you allow your AirPods to dry completely before returning them to their case.
Try it out and see how much better your AirPods sound!
Low Battery
This one is pretty self-explanatory. Low battery life in any of the devices in question can certainly cause audio quality to deteriorate. Whether it’s your phone, laptop, tablet, or the AirPods themselves, having a fully charged battery can only improve not only sound quality, but all-over performance.
How to Fix
Simply charge your devices to full power, then reconnect your AirPods and see if the issue is resolved.
Unstable Bluetooth Connection

Bluetooth is a wonderful thing, allowing us to enjoy the freedom of a wireless lifestyle. But it’s not perfect, and the connection that links your device to your AirPods can falter sometimes, especially if it’s been established for a long time and over large distances.
How to Fix
Disconnecting and reconnecting your AirPods to your device is a great way of seeing if a poor connection was the cause of the muffled sound. If everything sounds clearer, you’ll know what to do in the future.
However, sometimes just disconnecting and reconnecting isn’t enough. You may need to actually reset your AirPods and relink them with your device, in order to wipe out any lingering muffling sounds.
It’s best to do this with a decent amount of charge in your AirPods and case, to avoid interruption. Just follow these simple steps:
- Put your AirPods in their case and shut the lid
- Wait 30 seconds
- Take the AirPods out the case and put them in your ears
- Open Settings on your device
- Select Bluetooth
- If your AirPods are already connected, tap Information (i) next to their name
(If they’re not, skip the next step)
- Tap Forget This Device > Confirm
- Put the AirPods back in the case and leave the lid open
- Press and hold the Setup button for 15 seconds
- The light on the case should begin to flash orange, then white
- Reconnect your AirPods:
- Keep your AirPods in the case
- Keep the lid open
- Keep the AirPods near to your device
- Pair your AirPods with your device
Now, you’ve reset your AirPods and the Bluetooth connection between them and your device. Hopefully, that will have improved the muffled sound issue!
If it hasn’t, you can try the rest of the fixes in this article. They’re optional settings that you can configure to improve your listening experience, but they might just solve this problem for you!
Recalibrate Your Volume Levels
When you connect your AirPods to any device, their internal volume levels will (attempt to) match with the volume levels of the device. This is true for all Bluetooth headphones.
Occasionally, they won’t quite match up, and you’ll be left with either one or both of your AirPods sounding quieter, or muffled.
Try out this quick recalibration method to get your volume levels in sync again.
- Connect your AirPods to your device
- Play some audio
- Hold Volume Down until all sound is muted
- Disconnect your Bluetooth. Audio playback should pause.
- Resume playback from your device speakers
- Hold Volume Down again until all sound is muted
- Reconnect your AirPods to your device
This will recalibrate volume levels across your AirPods and device, and may eradicate a muffled sound.
Try the Ear Tip Fit Test (AirPods Pro)

This next fix only works for AirPods Pro, and you can only carry out the Ear Tip Fit Test if you’re running iOS 13.2 or later.
As you may know, AirPods Pro has silicone tips that fit snugly into your ears. This creates an air pocket in your ear in which soundwaves can reverberate, resulting in a louder, better sound, especially a fuller bass sound.
If you’re wearing the wrong size tips, or your AirPods Pros aren’t worn correctly in your ear, the resulting sound won’t be as intended, and could even sound a little muffled.
The following steps outline how to run an Ear Tip Fit Test.
- Connect your AirPods Pro to your device
- Open Settings then open Bluetooth
- Select the Information (i) next to your AirPods
- Select Ear Tip Fit Test and press Play
The test will now run, and determine if you’re wearing the right size tip for your ears.
If you’re not, try out the other tips and run the test again, or listen to something to see if the audio quality has improved.
Final Thoughts
Hopefully, you cleaned out your AirPods after reading this and you’re now experiencing crystal-clear sound quality on the world’s most popular pair of headphones!
And if this is the first time you’ve cleaned out your AirPods in a while, it was probably quite a harrowing experience… At least you won’t neglect it again in the future!
If none of the fixes listed above worked, you may want to consider contacting Apple support. They may be able to offer repair or replacement of your AirPods, as if nothing can fix the muffled sound, they may be faulty.
Good luck!