AirPods are great, we know that, but they aren’t perfect. Have you ever been using them on a phone call, chatting away, thinking everything is fine, only to have the other person say they can’t hear you?
Well, you’re not alone! It’s a fairly common and annoying situation, but it is super easy to fix! Try these different solutions to have your AirPods or AirPods Pro working perfectly again in no time.
Table of Contents
Why Can’t Callers Hear Me on My AirPods?
Unfortunately, there’s no one-size-fits-all solution to this question. The actual root cause of the problem may be one of a few things, or a couple of things working in tandem.
It could be a hardware problem, so: something wrong with the AirPods themselves, either physically or electronically (such as, AirPods mic not working).
It could be a software problem, meaning the operating system running on your phone and AirPods is not working properly.
Or, it could be a simple settings-based problem, meaning you may need to tweak a few options until your audio pick-up is satisfactory.
Quick Fixes for AirPods Calling Issues
Let’s start with the easy stuff. Try all these quick solutions and see if it makes a difference.
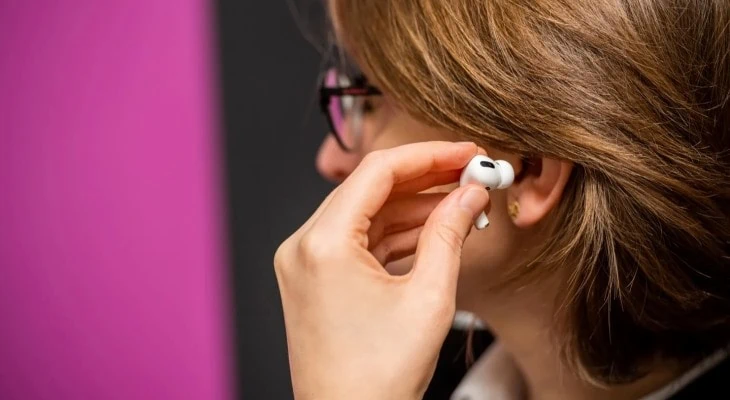
Clean Your AirPods’ Microphones
If your AirPod mics are blocked with debris, there’s a good chance that audio is not being picked up properly.
The AirPods and AirPods Pro feature microphones both at the top and bottom of the earbuds. These microphones work together, so if one is clogged, it will affect the audio input capabilities overall.
Clean them gently with a cotton bud to remove any dust or loose debris, and see how this affects audio quality on calls.
Reset Your Devices
Turning your device off and on again, also known as power cycling, is a tried and tested method for clearing out runtime errors from electronic equipment. Restart your iPhone or Android device, and see how the audio quality has changed (or not) afterwards.
You can also restart your AirPods themselves, by following the simple instructions laid out in this article.
Reestablish a Stable Connection
Bluetooth connections are not infallible! Sometimes, they need to be re-established to be strong and reliable enough to use. To do this, head to Settings > Bluetooth, and tap the information (i) next to your AirPods. Then, select forget, and turn off your device’s Bluetooth.
When your AirPods are forgotten is a good time to reset them, as mentioned in the previous section.
Next, turn Bluetooth back on, and then pair it with your AirPods once more.
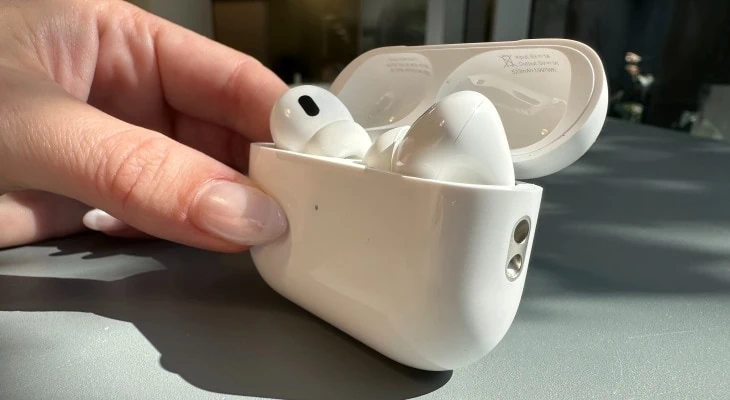
Ensure All Devices are Fully Charged

If your AirPods are low on battery, it will severely limit their capabilities. Sufficient audio detection would suffer if there’s not enough juice in the tank to power all the AirPod’s microphones, so try adequately charging your devices and trying a call again.
Settings and Features Tweaks
If none of the above quick fixes have worked, try making some of these changes to your settings.
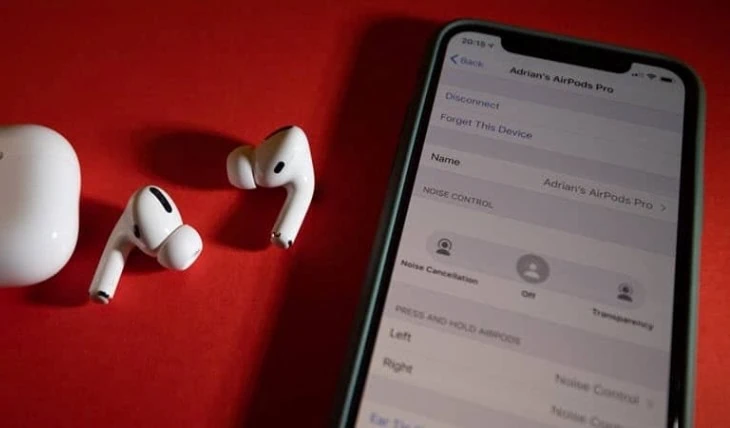
Switch AirPod Microphones
As mentioned earlier, there’s a total of four microphones in your ears when using AirPods – two in each earphone. They’re designed to switch back and forth between the left and right earphones to balance the audio input, but if one (or both) mics are damaged, this can mean a poor audio experience for your caller.
Try setting your AirPods to use one dedicated headphone as a microphone, and see if the problem persists.
To do this, head to Settings > Bluetooth, and select the information (i) next to your AirPods. Select Microphone; from here you can change which side you want to pick up audio on a call. Try both sides on separate calls to determine if you’ve got a problem with either one.
You might also find that just using one AirPod’s mic instead of both resolves the issue!
Disable Automatic Ear Detection

Apple’s Automatic Ear Detection feature is great because it allows the AirPods to know when they’re in your ears or not. However, sometimes it can malfunction, and cause AirPods to either pause or resume playback of audio when you actually wanted them to do the opposite.
Check out the information here to learn how to reset and disable Automatic Ear Detection, and see if it remedies this issue too.
Disable Sound Check
Sound check is a feature on Apple devices that balances audio input to account for volume discrepancies across differently mixed songs. However, it can also impact audio input and output for calls as well.
On your iPhone, head to Settings > Music, then make sure Sound Check is toggled off.
Ensure All Software is Updated
Finally, double-check that your device’s software is running the latest version operating system.
These updates often include firmware updates for external devices like AirPods, so updating your device may patch any errors that could have been causing this issue.
Final Thoughts
When tackling an issue as serious as callers being unable to hear you through your AirPods, go through the tried and tested methods first! Power cycling, resetting, and tweaking the settings.
And don’t forget to clean your devices – especially the microphones! You can’t imagine how often it’s a case of AirPods microphone not working simply because of built up dirt and debris over the mic.
After all that, if none of these have solved the problem, it may be time to take your AirPods to Apple or an authorized Apple repair provider for a replacement.