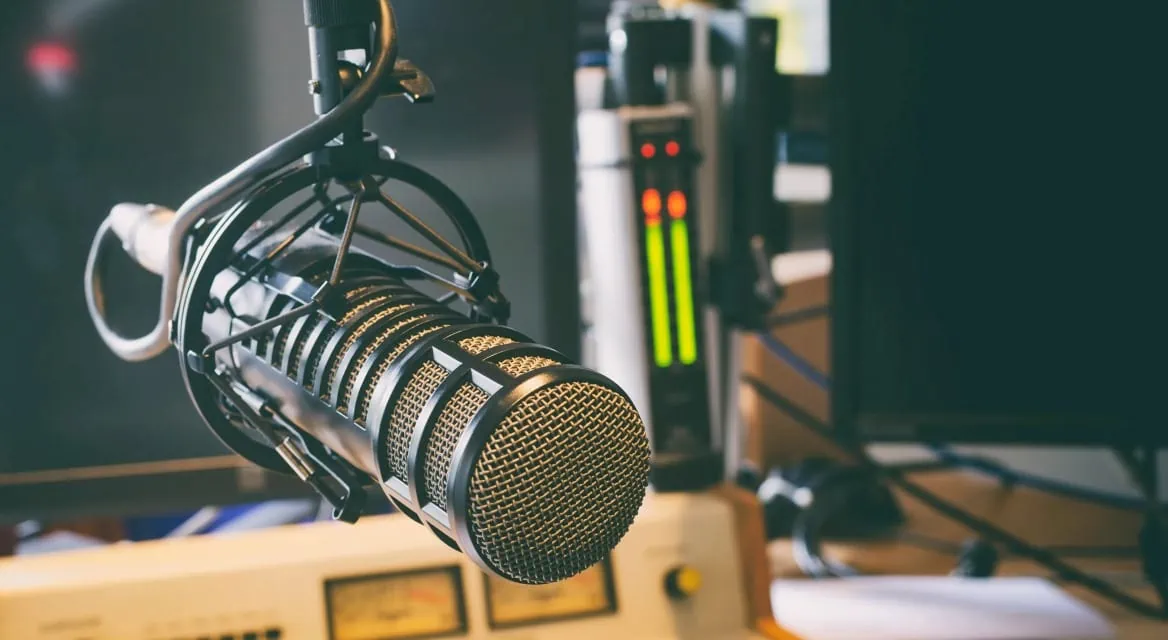
If you’re doing any kind of recording – vocals, instruments, or spoken word – you’re going to want the best sound quality possible. There’s nothing worse than hitting stop on your software after a long take, then listening back to what you’ve recorded and finding out you can barely hear it!
So if you’re facing issues around your microphone sounding muffled, muddy, or like you’re underwater, you might be thinking of throwing your old mic in the trash and buying a new one. Don’t! There’s a reason your mic sounds bad, and fixing it might be easier than you think.
Table of Contents
Common Reasons Your Mic Sounds Muffled
We’ll take a quick look at some of the reasons why you might sound like you’re underwater on your recordings, but before we do, it’s worth mentioning an important point.
If you’ve bought a very cheap USB microphone, then chances are that some or all of these solutions won’t work for you. It goes without saying that ‘you get what you pay for,’ and electronic equipment is definitely an area where that rings true in a much more obvious way.
Simply put – the cheaper your microphone, the worse it will sound. A $14 USB microphone from Amazon will probably always sound muffled! Consider the quality of your mic, and if none of these fixes work, it may be time to consider upgrading your equipment.
Dirt Buildup
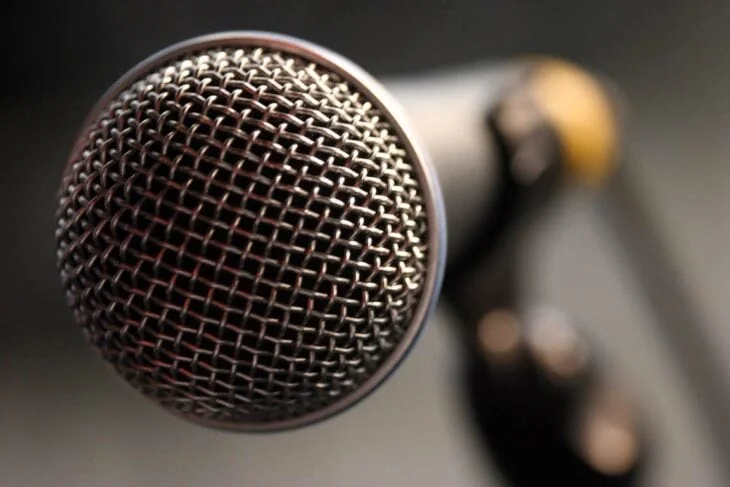
The most likely reason your mic sounds muffled is probably that something is quite literally muffling it. Mics have lots of small parts and holes to facilitate the recording process, and it’s easy for them to get clogged up with debris without you even realizing it.
If your mic has only started to sound muffled after some time, this is most likely the cause. If your mic has always sounded muffled, it’s unlikely it will be due to dirt buildup.
How to Fix it
This is easy – clean your mic! But a quick wipe down with a dry rag won’t do – you’ll need to do a proper job.
Remove the connector from the bottom of the microphone and the grill/windscreen from the top. Be careful with the diaphragm and coil under the microphone’s head.
Wipe the housing of the microphone with a cloth lightly dampened with isopropyl alcohol; be careful not to get any of the delicate interior parts of the mic wet.
Use compressed air to remove as much dirt and dust as you can from the grille and the small parts inside the microphone. Blow out the port on the bottom of the mic as well, to facilitate a stronger connection.
Using the Incorrect Hardware/Software
The world of microphones (and home recording equipment in general) can be very overwhelming. With so much to learn about so many different bits of kit and so many different suppliers on the market, it’s easy to make a mistake.
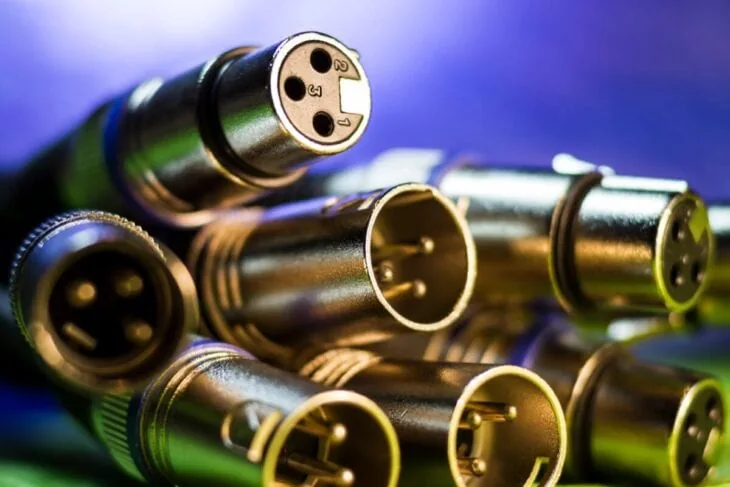
To record at home (with a non-USB mic), you’re going to need some kind of interface or preamp to plug your microphone’s XLR connection into. These sometimes come with audio recording software, but you can always buy them separately.
If you have a condenser microphone, you need a preamp to supply DC (direct current), or ‘phantom power’ to the microphone via the audio cables.
It’s also common for people to buy a mic without doing the proper research. Think about what you’re recording, then try and find out if you’ve got the right microphone for the job. Using a mic that’s designed for gaming won’t be right for recording ASMR, and using a podcast mic for recording live drums will sound awful.
Hardware also relates to your mic and cables, too. XLR cables are sturdy, but they won’t last forever, and when they malfunction, you’ll notice it in your microphone’s performance. Try replacing the cable and see if it improves your audio.
Damage to the microphone may not always be visible, but if you feel like you know what you’re doing, it can be worth taking the mic apart and looking for any damage to the electrical elements inside. If you don’t feel confident – don’t do this! There’s a high chance you could either make the problem worse or cause a new problem.
Check Your Proximity to the Mic
Mic placement is a key part of getting a good take. If your mic is placed in an unfavorable position, your recording will sound muffled, or worse – it might not pick up at all.
Mic placement is an art; you’ve got to know the capabilities of your mic and its polar pattern – unidirectional and omnidirectional mics are used for different sound sources; and you’ve got to know the best place on the instrument/person to locate it.
How to Fix it
If your recording sessions have been sounding muffled, then try playing around with the placement of your mic/s and see what changes.
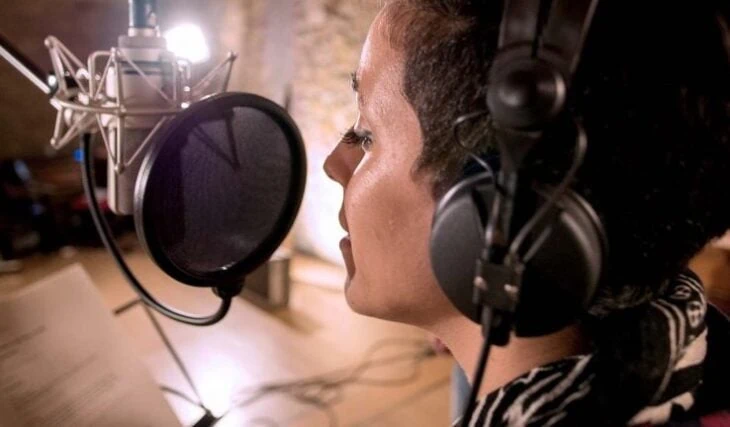
When recording vocals, it’s important not to get too close, as this can overload the low and mid-frequency range and result in a muddy sound.
It’s equally important not to get too far away, or on an angle, as this can put you out of the microphone’s polar pattern range, resulting in a tinny, quiet audio that will also sound unclear.
The recommended ideal range for singing into a microphone is between 6–12 inches. This will vary from person to person, depending on the acoustics of the recording location and the person’s voice.
When recording acoustic instruments, you might need to experiment a bit to get the perfect spot for your instrument, though there are recommended placements.
For acoustic guitar, it is recommended to aim the mic at the spot where the fretboard meets the body, and place the microphone 8–9 inches away.
For drums, more than one mic is best, but if you only have one, the recommended placement is approximately 6 inches from each drum head. You can see how that might take some careful positioning!
It’s unlikely you’ll get this stuff right the first time, so don’t be afraid to spend some time figuring it out.
Your Audio isn’t Equalized Properly
Audio equalization, commonly known as EQ, is an integral part of home recording, mixing, and mastering. If you don’t know how to balance the frequencies of your audio tracks, you’ll have a very hard time getting anything to sound anywhere near professional standards.
So it may not be that you have a problem with your microphone at all – it might be that you just need to EQ your audio tracks properly.
How to Fix it
Typically, when recording vocals, the low frequencies are cut at around 100HZ, to avoid muffling and to allow space to boost the high frequencies without harshing the mix. If you need to, you can still alter the mids and highs to balance the tone of the vocals.
For instruments, the same logic is followed, in that you accentuate what the instrument naturally lacks. If you’re recording a kick drum, for example, that already sounds quite bassy, so you probably don’t want to boost the low-end at all, as that will muddy the mix.
Likewise, if you’re recording a piccolo flute, you’ll need to be careful with the high-end to avoid ear-splitting frequencies!
If all of this sounds like too much, there are plenty of online tutorials available, so you can even just learn the basics, in order to get your head around it and improve the sound of your microphone.
Final Thoughts
As you can see, the reasons behind this common issue range from a simple cleaning job to learning the art of EQ mastering! Unfortunately, there’s no simple quick fix for this, as it’s hard to tell for sure exactly what the problem is.
If none of these solutions work, or you think you’ve identified an issue with your microphone, such as damage or poor manufacturing, then either take it back to the supplier or to a professional music tech to look it over.
Good luck!