Whether you take your amp out to gigs or just play at home, it’s good to give it a clean every now and then. Dust and grime can build up quickly, and not just on the outside.
If dirt or dust gets into the pots or electronics, it could severely affect your output and may even cause humming or other unwanted noise. It’s best to get into the habit of doing some maintenance once every few months to keep amps in a good shape.
Keep your guitar amp clean by wiping the vinyl exterior down with a damp soapy cloth every so often. Clean out your pots, input jack, switches, and tube pins with a deoxidizing contact cleaner and a cotton swab. Make that grill cloth look new just by using carpet cleaner foam and a vacuum cleaner.
Your amp is a crucial part of your gear as a guitarist. It plays a significant role in sculpting your sound and is often as beloved as the guitar itself. You’ll enjoy a long and happy relationship with your amp by following these tips to keep it squeaky clean.
Each section of the amp requires a slightly different approach when cleaning. The following guide will help you maintain each part of the amp in the best possible manner.
When carrying out any maintenance on your amp, it’s vital to do so safely. Therefore, make sure the amp is unplugged and that your power switch is off before doing any cleaning.
Table of Contents
Cleaning the Cabinet Exterior
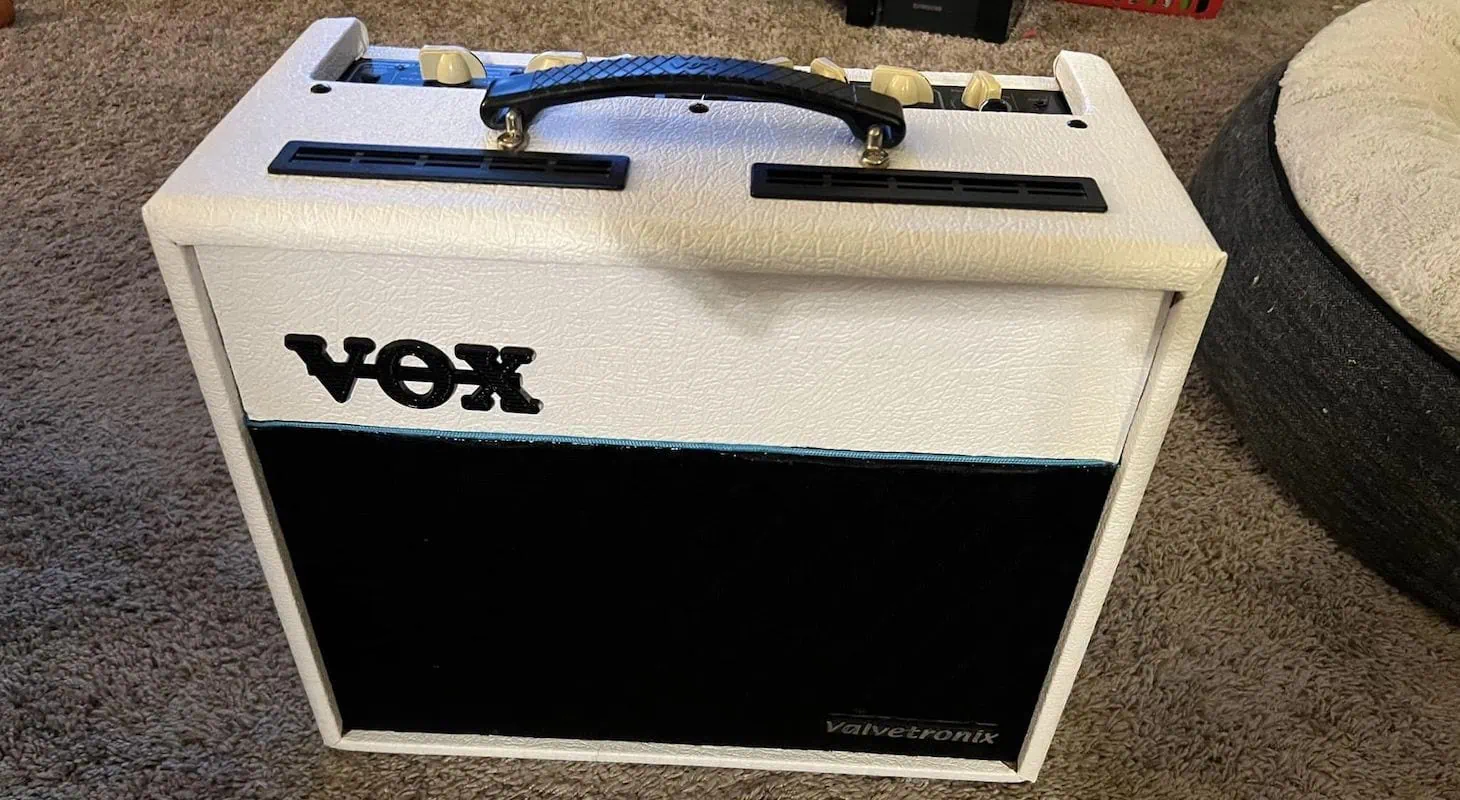
Vinyl Covering
Most amps have a vinyl finish on the cabinet exterior, usually Tolex. It’s best not to clean this surface with any solvent-based cleaning products as they may leave marks. You can just wipe it down with a damp soapy cloth every so often.
I suggest using some mild dishwashing liquid because it removes grease and won’t leave any marks on the vinyl. Make sure that you have a dry cloth on hand to dry the vinyl surface after cleaning, though.
Fabric Covering
Some older and custom amps have a fabric or tweed covering instead of the more common Tolex vinyl, notably some classic Fender amps. The material used is generally very absorbent and trying to remove any stains may make things worse.
I, therefore, don’t recommend trying to clean the fabric yourself. If it’s heavily stained, perhaps consider having the amp re-covered.
However, if it’s just the dust you want to remove, you can give the fabric a once-over with your vacuum cleaner. Use the brush attachment when vacuuming but be gentle on the fabric as you remove the dust.
You can also give the faceplate a light vacuum with a bristled nozzle to remove any dust around the knobs.
Cleaning Inside the Cabinet
The back of the cabinet can differ from amp to amp. Some may be completely open and others partially or fully closed. If there is a backing to your amp, you can usually remove it easily by unscrewing it.
When working at the back of the open cabinet, be careful not to wet or damage any electrical elements.
I recommend buying a compressed air duster, like this one on Amazon. This way, you can safely clear out the dust and cobwebs at the back of the speaker and electronics.
Then, with your vacuum and brush attachment, vacuum around the speaker and base of the cabinet. This will remove any dust that may have built up in the cabinet interior.
Maintaining the Preamp
Working with the preamp is a bit more finicky but will do wonders for the longevity of your amp.
Again, you need to be extremely careful when working with the electronic components of the amp. Be careful not to touch any of the elements on the electrical board such as the capacitors. These elements store a great deal of voltage that’s enough to harm you, even if the amp is unplugged.
To clean out the crucial components of the preamp, you will need to get your hands on a good electronic contact cleaner. I recommend using the DeoxIT D5 contact cleaner, as this is what most of the amp service and repair guys use.
Removing the Preamp
First, you’ll need to remove the preamp from the cabinet to access the elements that need cleaning. As mentioned, try not to touch the electrical components as they are extremely dangerous.
For those who don’t know, the preamp is the console behind the faceplate of your amp.
You will be removing the preamp via the open back of the cabinet. But, before releasing it, make sure that you unclip the wires attached to the speaker and reverb.
Take note of which color wire connects to which connector on the speaker. You must ensure that you put it back the same way around when done. Capture a quick snap with your smartphone just to be safe in case you forget how they were originally connected.
Not all amps will be identical. However, you will generally find star-shaped screws at the top of the amp holding the preamp in place. Loosen these screws to remove the console, making sure not to drop the preamp.
Once removed, you can move on to cleaning up the various components of the preamp that need a little maintenance.
Pots
If you’re hearing scratching sounds when turning the knobs, cleaning out the pots will fix the issue.
Look for the pots (potentiometers), which are the circular silver resistors at the backend of each knob. You should see at least one small opening in each, usually at the bottom. There may also be other openings at the top and side of each pot.
Using your DeoxIT D5 contact cleaner and nozzle, spray some of the cleaner into each hole on the pot.
When spraying each, turn the knob back and forth at the same time. If you have push-pull knobs, pull them out and push them in a few times too. This will help to spread the contact cleaner throughout the mechanism as much as possible.
Input Jack
You can use the same DeoxIT D5 contact cleaner to clean out your input jack opening. The least invasive way to do this is to use these cotton swabs.
Spray some DeoxIT D5 onto the cotton head of the swab and rub the swab around the shaft of the input jack opening. Be sure to spread the cleaner as much as possible on the inside of the shaft.
You should also rub the cleaner onto the contact points just inside the input jack opening. These points of contact tend to oxidize easily.
If you don’t have swabs available, simply spray the jack itself with some DeoxIT D5 contact cleaner. Then place the jack into the input slot, turn it around a bit, and remove it.
Repeat this process 2-3 times to spread the contact cleaner as much as possible. It’s not as gentle as the swab on the shaft of the input jack, but it’ll do the trick.
Tubes
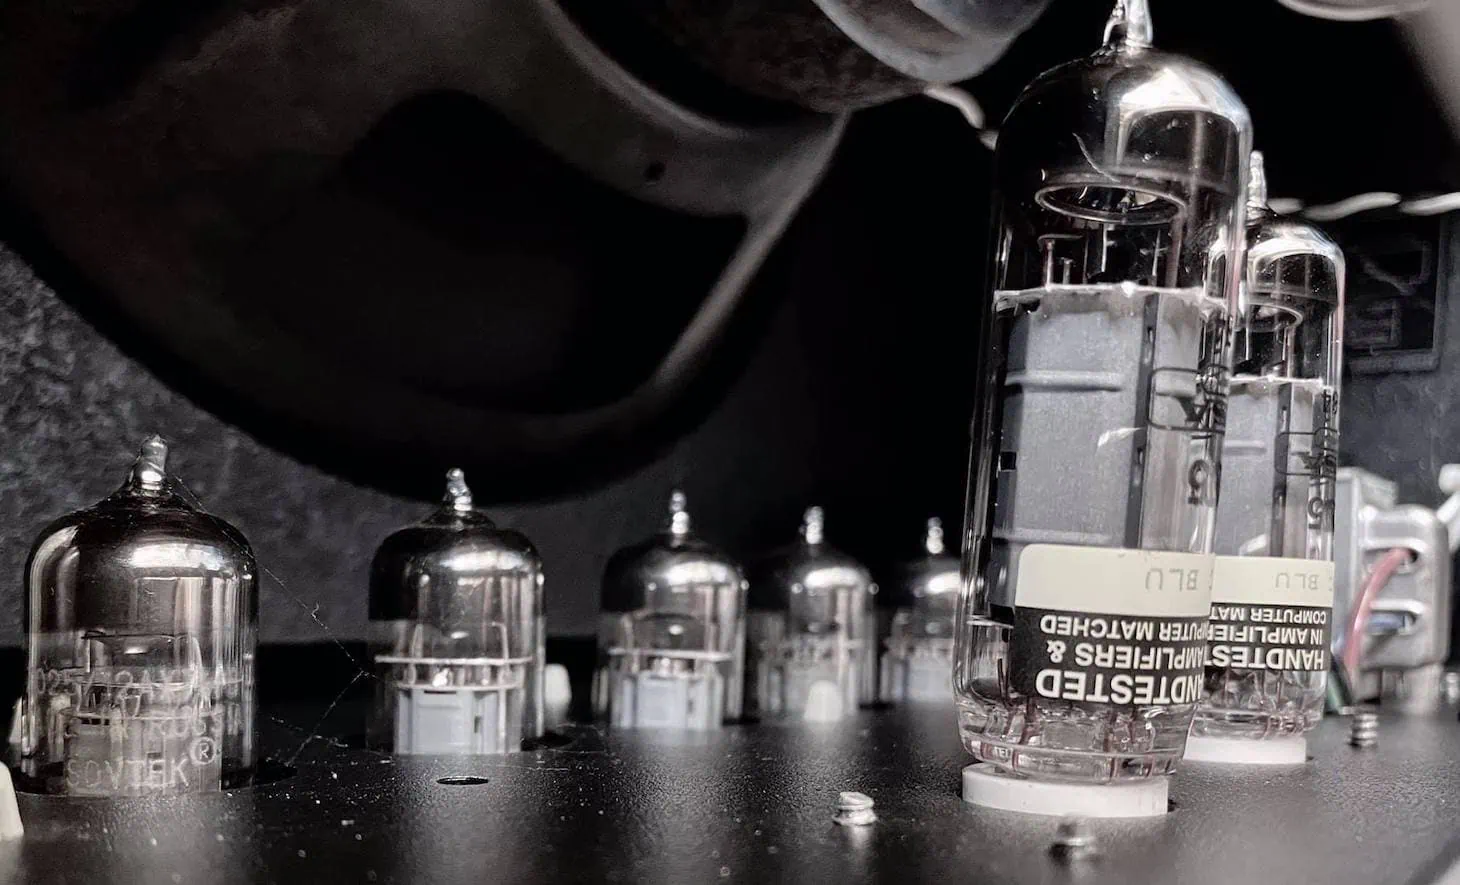
If you have a tube or hybrid amp, you can also clean the tube pins and sockets with DeoxIT D5.
Pop the tubes out one and a time, and spray the pins directly with the deoxidizing contact cleaner. Make sure to do it over a paper towel or newspaper to protect the surface of your workbench.
After spraying, place the tube back into its slot and give it a slight wiggle. Remove the tube and then insert again. Do this 2-3 times to spread the contact cleaner along the pins and sockets as much as possible.
On/off Switch
The same applies to your on/off switch. Squirt some contact cleaner into the openings at the back of the switch mechanism to clean it out. Flick the switch up and down a few times to spread the contact cleaner. This will prevent the switch from sticking.
Once you’ve cleaned the pots, input jack, tubes, and switch, re-affix the preamp to the inside of the cabinet. Secure the star-shaped screws at the top of the amp to hold the preamp in place as before. Once in, reattach the reverb and speaker wires as you found them.
Freshen Up the Grill
Metal Grill
If your amp has a perforated or expanded metal grill, it is likely finished with a matt or gloss paint. So, technically, the metal should not be exposed.
In this case, simply wiping the grill down regularly with a dusting cloth would keep the dust at bay. A damp soapy cloth could be used to remove any marks or grime. But I suggest that you remove the grill (if you can) to not get moisture on the speaker.
When cleaning with water, always finish by wiping the area with a dry cloth to avoid marks.
Cloth Grill
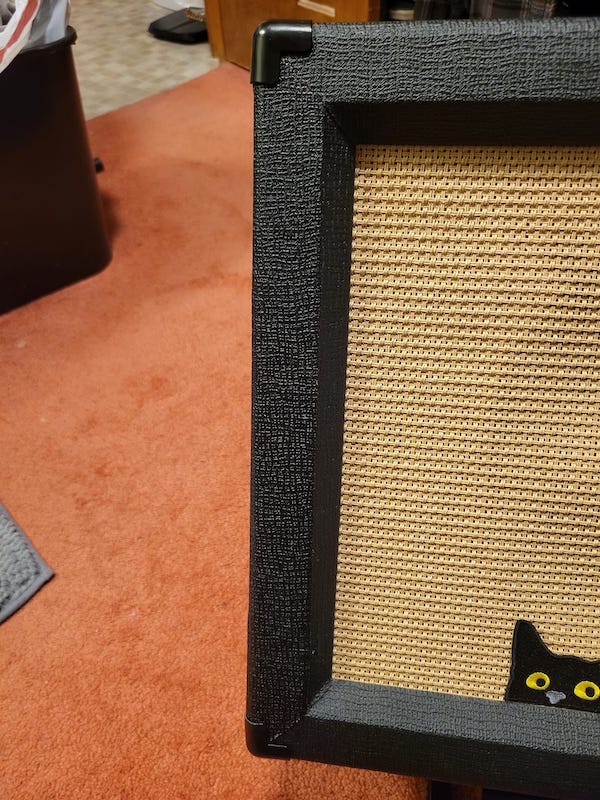
Most grills have a cloth covering, which you can clean yourself. You just need to be gentle when working with the fabric, as it tends to damage easily.
If you’re just removing dust, vacuum the cloth grill gently using a brush attachment. Brush the surface very lightly as you clean to prevent damaging the cloth. Don’t push against the fabric, as it could stretch under pressure.
If the grill cloth is grimy or stained, I recommend using a foam-based cleaner like the Resolve foam carpet cleaner. With a foam carpet cleaner, you won’t have to use water and risk damaging the electrical components of the amp.
If possible, you should remove the grill cloth before cleaning. Some grills can be popped in and out effortlessly, while others are stapled in place. Therefore, if you take the grill out, you may have to staple it back in when done.
When removing the grill, be careful not to damage the vinyl on the cabinet or the cloth on the grill.
If you cannot remove the grill, it’s best to clean it with the speaker standing upright. This will reduce the risk of moisture dripping onto the speaker behind the grill.
To clean, make use of a damp cloth and spray it with some foam carpet cleaner. Gently rub the surface of the grill cloth, spreading the foam as much as possible.
If the grill is filthy, you can use a soft-bristled brush instead of a damp cloth. However, you must be as gentle as possible when brushing against the grill cloth. You don’t want it to fray or stretch.
Leave it to dry, as per the instructions on the carpet cleaner container. Then vacuum the grill cloth using the brush attachment on your vacuum hose.
Again, be very gentle as you vacuum the residue left by the carpet cleaner. Use a dry cloth to wipe any excess residue off the grill cloth. Then, leave the grill cloth out in the sun to dry.
When completely dry, pop your grill back in and admire your excellent work. Your grill will look and smell great after a good clean like this.
Tips to Minimize the Build-up of Dust and Mold
Now that you’ve given your amp a good scrubbing, you’ll want to keep it looking and sounding its best. Simply taking care when storing your amp can go a long way to keeping it in pristine condition.
To keep mold at bay and prevent any damage, keep your amp away from direct sunlight or heat. Storing it in a temperate, dry place when not in use is optimal.
Your best defense against dust will be to purchase a case or cover for your amp. There are many amp covers on the market, saving you from having to clean out the electronics regularly.
Keep Your Amp Looking and Sounding Great
Cleaning your amp every couple of months is something you could easily do yourself without much hassle. However, if you’re a bit nervous when dealing with the electronic components, perhaps employ the services of a professional to help.
Following the above guidelines will help you maintain your amp and your sound for years to come. And being mindful about how you store your amp will also add to its mileage.
I wish I could find the best way and product to clean up the surface rust on the chassis. They all get this way. It’s not deep rust at all just lightly on the surface. I am thinking of using 0000 steel wool but thought that there might be a liquid or some type of gel that might work. Also, worried about steel wool dust getting around things. If I do use the wool, I will be using a vacuum to suck up dust. Your thoughts would be appreciated.
Treasure-trove of good advice here. Thank you, Sam.
I am considering some kind of bug spray to keep the spiders out of my Marshall combo.