It’s an age-old dilemma for guitarists who rent or live in a college dorm: how to hang a guitar on the wall without drilling.
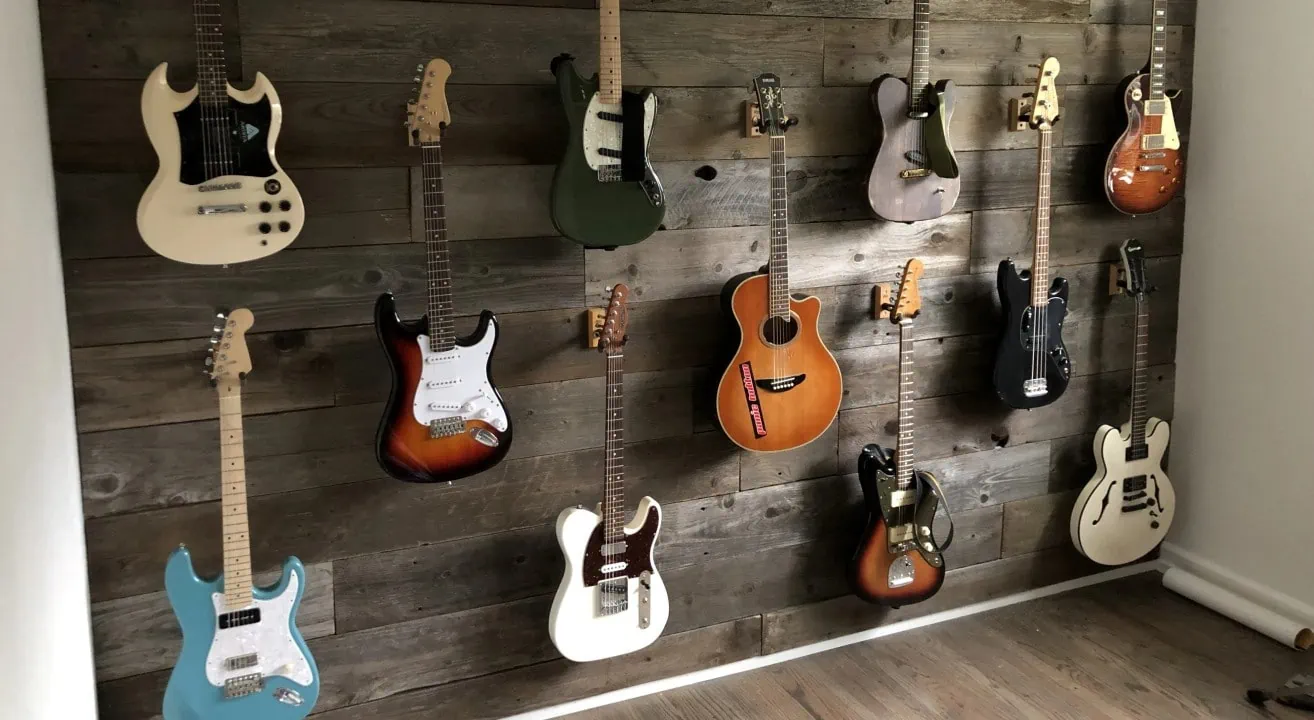
Hanging your ax not only saves precious space but can prevent damage to your instrument from the potential pitfalls of wandering pets and their enthusiastic tails as well as tumbles from tiny, uncoordinated toddler-aged humans.
But what is a guitarist to do when the landlord isn’t having holes in the wall? Fret not, you’ve got options!
Read on for an easy DIY guide on how to hang your guitar without damaging the wall …
Table of Contents
Make Your Own Exterior “Stud”
This nifty bracket set presents perhaps the most sturdy and creative solution out there. Simply place a 2×4 between the brackets and adjust the height accordingly to create a floor-to-ceiling post. Mount your favorite guitar hanger to the post, just as you would affix it to a stud behind the drywall.
The possibilities are endless with this solution. You can place your post anywhere it suits your space. You can get super creative with the post itself by applying an attractive stain, paint or design. And you can mount most popular styles of guitar hangers on it, from the basic and affordable kind to the tried-and-true locking mounts from Hercules.
You’ll still need a drill and screws to mount the wall hanger to the post; but there is tremendous peace of mind knowing that your mount, and guitar, won’t come tumbling down anytime soon.
The Adhesive Option
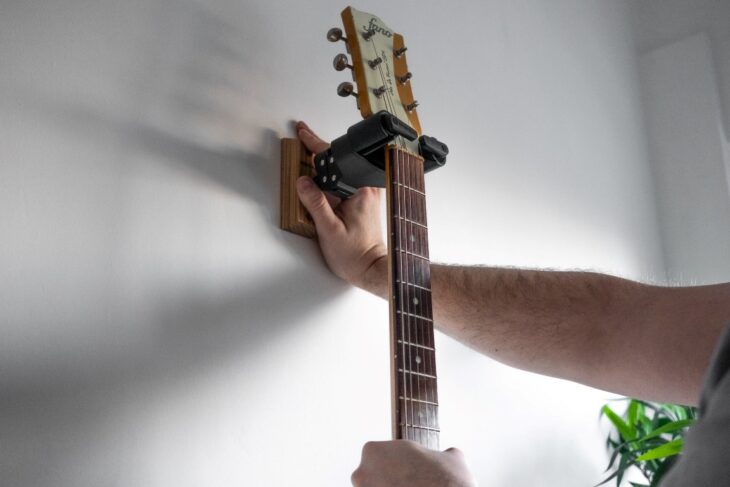
Fabricating a guitar wall mount with no screws is an easy DIY option as well. For an adhesive guitar wall mount solution, you will simply need an appropriate adhesive and your favorite guitar hanger.
That said, any adhesive that you choose to use should be rated as heavy-duty. Whether you’re hanging a lightweight acoustic or your 10 lb. Les Paul, the kind of around-the-house adhesive solutions that people often use to confidently affix their art to the wall simply cannot sustain the weight of an instrument.
In the interest of minimizing risk (and heartbreak), the adhesives listed here are some of the sturdier on the market.
Heavy Duty Mounting Adhesive

A heavy duty glue like this one from UniBond is suitable for a range of surfaces, including wood, metal, stone, plaster and concrete.
Clean your surface first. Then, to use, simply apply it to the back of your preferred guitar wall mount in a sort of wave-like form and affix it to your wall using a bit of a twist to set it in the correct position. It may be useful to use something to prop it up while the adhesive cures, ideally 12 hours.
It should be noted that this is far from a temporary placement. You may need to get creative and add some serious elbow grease to remove this product from the wall without damaging it. There won’t be any holes in the wall; but your landlord might not care for this sort of heavy duty adhesive either.
Double Sided Tape
For something a little less permanent, the Gorilla brand of adhesives makes this industrial strength mounting tape that boasts weight support of up to 30 lbs. It is also ideal for surfaces that are less than smooth.
To use, ensure your surface is clean and dry. Then, using at least 2 inches of tape for every pound you need to support, apply the strip(s) vertically to the back of your guitar mount. Keep in mind that your guitar mount has weight too! You’ll need to add this to the weight of the guitar you want to hang when deciding how much to use.
Finally, simply remove the strip on the side facing you and press firmly into place on the wall.
Gorilla states that this tape provides permanent placement; but you should be able to remove it when necessary with a bit of care and creativity.
Command Brand Heavyweight Strips

A popular name in the world of damage-free wall hanging solutions, the Command brand makes this heavyweight version of their strips that support up to 20 lbs of weight.
Before application, there are a few things to keep in mind. Wait at least seven days after painting to use. It is not recommended to place over a bed, nor is it for use on wallpaper.
To use, clean the surface specifically with rubbing alcohol. Separate the two strips from how they were packaged, then click them together. Remove liner from one side and affix vertically to your guitar mount. If you can fit four on the back, two near the top and two near the bottom, go for it. This will only make the bond sturdier.
Next, remove the remaining liners and affix to the wall. Press first on the top strips and hold for 30 seconds. Repeat on the bottom strips.
Once you’ve completed this, you will need to remove the mount by unclicking the strips. The other side of the strip should still be attached to the wall. Now, press and hold the wall-mounted strips for 30 seconds each and wait an hour before reattaching the guitar hanger. Listen for that iconic click to know you’ve successfully fabricated a Command strip guitar hanger!
Knowledge Gained
Now that you know how to hang a guitar on the wall without drilling, you’re one step closer to reclaiming your space and a bit more peace of mind. Plus, your guitar is a work of art; why not display her like one!